Quick Recipe Version (TL;DR)
Quick Ingredients
- 2 (3 oz / 85 g) packs instant ramen noodles, seasoning packets discarded
- 2 large eggs
- 3 tbsp unsalted butter
- 2 tbsp neutral oil (canola, vegetable, or avocado)
- 3 cloves garlic, finely minced
- 3–4 scallions, thinly sliced (greens and light greens)
- 1 tbsp soy sauce (low-sodium preferred)
- 1/2 tsp toasted sesame oil
- 1/4 tsp fine salt, plus more to taste
- 1/4 tsp black pepper
- Optional: 1/4 tsp red pepper flakes, 1/4 cup finely grated Parmesan
Do This
- 1. Boil ramen in salted water for 2–3 minutes until just tender, then drain and rinse under cold water; drain very well.
- 2. In a bowl, whisk eggs, salt, pepper, and Parmesan (if using). Add cooled noodles, snip them shorter with kitchen scissors, and fold in 2 tbsp sliced scallions.
- 3. Divide mixture into 2 tight, round cakes (about 1 inch thick) on a parchment-lined plate and chill 10 minutes to firm.
- 4. Heat 2 tbsp oil in a nonstick or cast-iron skillet over medium heat. Sear ramen cakes 3–5 minutes per side until deeply golden and crisp.
- 5. Reduce heat to low, add butter to an open spot in the pan, then stir in garlic. Cook 30–60 seconds until fragrant, then add soy sauce, sesame oil, and red pepper flakes.
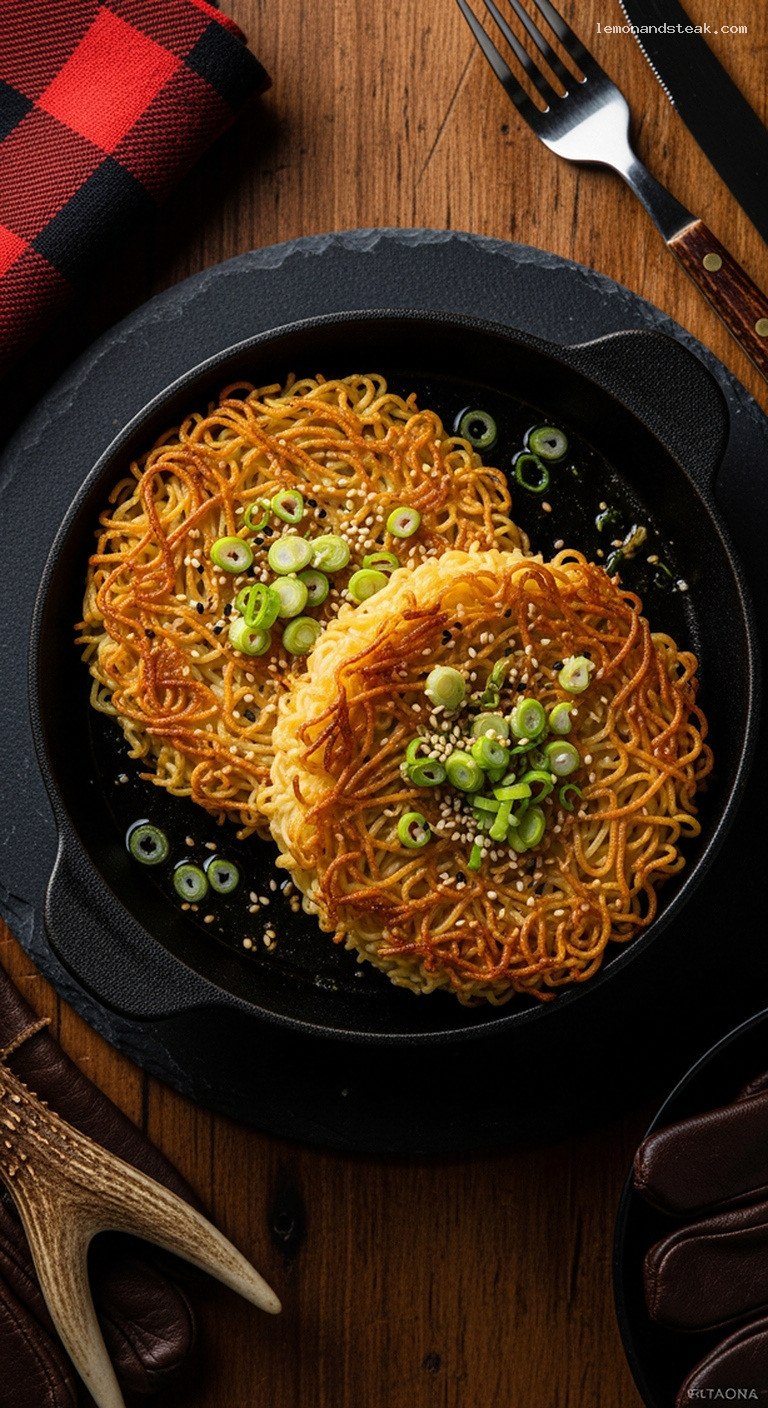
- 6. Spoon hot garlic-butter over the ramen cakes, transfer to a plate, and finish with plenty of fresh scallions. Serve immediately while crisp.
Why You’ll Love This Recipe
- Turns humble instant ramen into a crispy, golden, shareable snack or light meal.
- Garlic-butter and soy create a deeply savory, almost steakhouse-style flavor on crunchy noodles.
- Simple pantry ingredients and straightforward steps, but impressive presentation.
- Easily customizable with spice, cheese, or extra toppings to match your mood.
Grocery List
- Produce: Garlic, scallions (green onions)
- Dairy: Unsalted butter, optional Parmesan cheese
- Pantry: Instant ramen noodles, neutral cooking oil, soy sauce, toasted sesame oil, salt, black pepper, red pepper flakes (optional)
Full Ingredients
For the Ramen Cakes
- 2 (3 oz / 85 g) packs instant ramen noodles, any flavor (discard seasoning packets)
- 2 large eggs
- 1/4 cup (20 g) finely grated Parmesan cheese (optional but helps with binding and adds flavor)
- 2 tbsp thinly sliced scallion greens (from about 1–2 scallions)
- 1/4 tsp fine sea salt (more or less to taste)
- 1/4 tsp freshly ground black pepper
For Cooking the Cakes
- 2 tbsp neutral oil (canola, vegetable, sunflower, or avocado oil)
For the Garlic-Butter Glaze
- 3 tbsp unsalted butter
- 3 cloves garlic, finely minced (about 1 tbsp)
- 1 tbsp soy sauce (low-sodium recommended)
- 1/2 tsp toasted sesame oil
- 1/4 tsp red pepper flakes (optional, for heat)
- 1/2 tsp sugar or honey (optional, for a subtle balance to the salt)
For Topping and Serving
- 2–3 scallions, thinly sliced on the bias (greens and light greens)
- Optional: 1–2 tsp toasted sesame seeds, for extra crunch
- Optional: Lime or lemon wedges for squeezing over, to brighten the richness
Step-by-Step Instructions
Step 1: Cook and Cool the Ramen Noodles
Bring a medium pot of water (about 6 cups) to a boil. Add the ramen noodle bricks and cook for 2–3 minutes, just until the noodles are loosened and tender but still slightly firm in the center. Avoid overcooking; you want them slightly underdone so they hold their shape when pan-seared.
Drain the noodles in a colander and rinse briefly under cold running water to stop the cooking and remove excess starch. Shake the colander well and let the noodles drain for at least 2–3 minutes. The drier they are, the better the cakes will crisp. If you like, toss them with a teaspoon of neutral oil to prevent sticking while they cool. Set aside to cool until just barely warm.
Step 2: Make the Egg Mixture and Combine
In a large mixing bowl, whisk together the eggs, salt, black pepper, and Parmesan (if using) until well combined and slightly frothy. Taste a strand of noodle with a tiny dab of the egg mixture if you are comfortable doing so, or simply adjust the salt based on your soy sauce brand (you can also adjust after cooking).
Add the cooled noodles to the bowl. Use clean kitchen scissors to snip through the pile several times, cutting the noodles into shorter, more manageable lengths (about 2–3 inches). This makes the cakes easier to shape and flip. Add 2 tablespoons of sliced scallion greens and gently toss everything together until the noodles are evenly coated in the egg mixture.
Step 3: Shape and Chill the Ramen Cakes
Line a plate or small tray with parchment paper. Divide the noodle mixture into two equal portions. Using your hands or a large spoon, form each portion into a compact, round cake about 4–5 inches wide and 1 inch thick. Press down firmly and tuck in any stray noodles so the edges are tidy; this helps the cakes stay together in the pan and brown evenly.
Transfer the shaped cakes to the lined plate and refrigerate for about 10 minutes. This short chilling time helps the eggs begin to set and firms up the cakes, making them much easier to flip without breaking. If you are in a hurry, you can skip the chilling step, but be extra gentle when turning the cakes.
Step 4: Pan-Sear Until Deeply Golden and Crisp
Heat a large nonstick or well-seasoned cast-iron skillet over medium heat. Add 2 tablespoons of neutral oil and let it heat until it shimmers but is not smoking. Gently place the chilled ramen cakes into the pan. If the pan feels crowded, cook one cake at a time, keeping the first warm in a low (200°F / 95°C) oven.
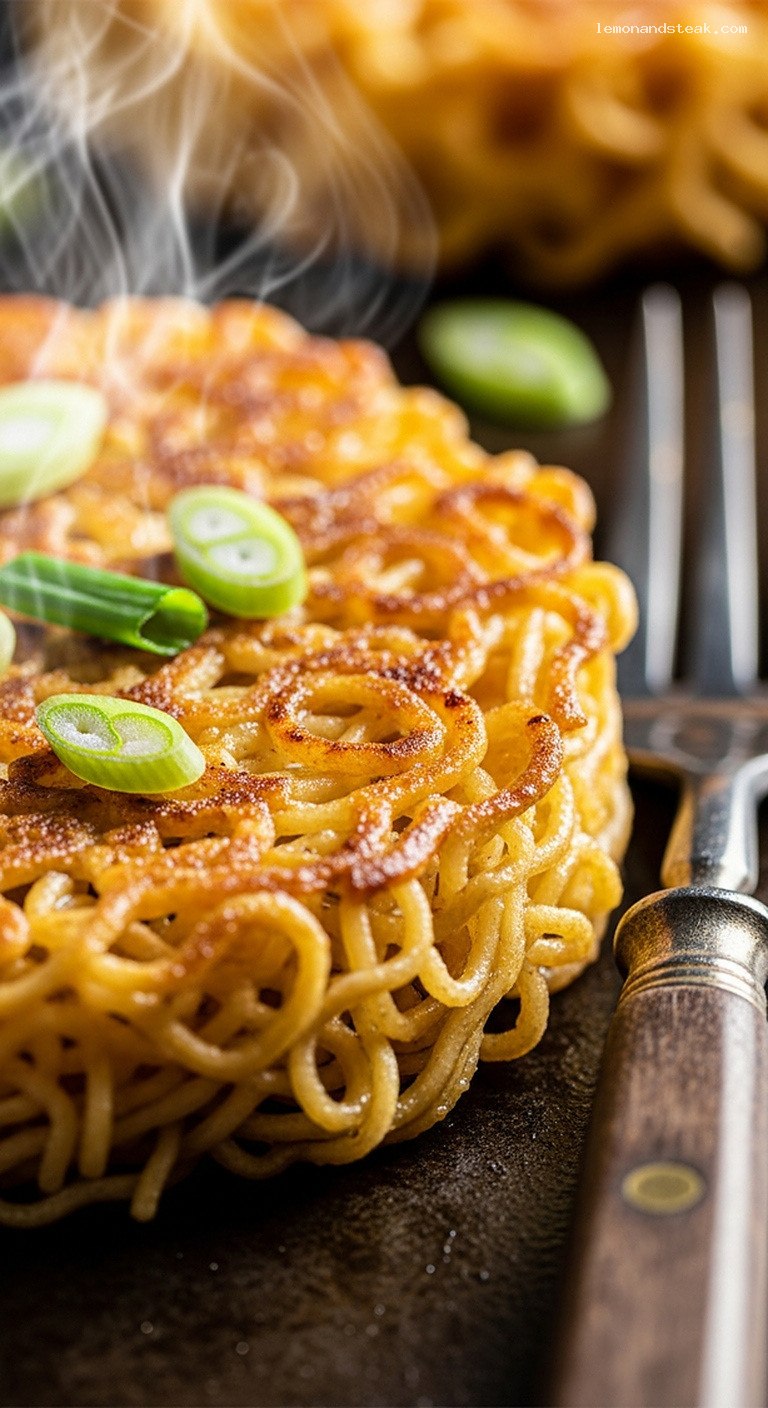
Cook the cakes undisturbed for 3–5 minutes on the first side, until the bottoms are deeply golden brown and crisp. Resist the urge to move them too soon; this crust is what holds everything together. Carefully slide a wide spatula under each cake and flip. Cook for another 3–4 minutes on the second side, until equally crisp and cooked through. Reduce the heat slightly if they brown too quickly.
Step 5: Make the Savory Garlic-Butter in the Pan
Once the ramen cakes are crisp on both sides, push them slightly toward one side of the skillet (or transfer to a plate briefly if your pan is small), and reduce the heat to low. Add the 3 tablespoons of butter to the empty side of the pan.
When the butter is mostly melted and just starting to foam, stir in the minced garlic. Cook, stirring constantly, for 30–60 seconds, until the garlic is fragrant and lightly sizzling but not browned. Immediately add the soy sauce, toasted sesame oil, and red pepper flakes (if using). If you enjoy a subtle hint of sweetness, stir in the sugar or honey. Swirl the pan to combine everything into a glossy, aromatic garlic-butter sauce.
Step 6: Baste, Garnish, and Serve
Spoon the hot garlic-butter mixture generously over the tops and sides of the ramen cakes, allowing it to soak into the crispy noodles. If you briefly removed the cakes from the pan, return them and quickly baste both sides with the sauce over low heat for 15–30 seconds.
Transfer the garlic-butter ramen cakes to a warm serving plate or a small cast-iron skillet for a rustic presentation. Scatter plenty of fresh sliced scallions over the top, along with toasted sesame seeds if using. Serve immediately while the exterior is still crisp and the centers are tender. Cut into wedges to share as an appetizer or serve each cake whole as a snack or light meal. A quick squeeze of lime or lemon over the top brightens the rich butter and soy.
Pro Tips
- Dry noodles = better crunch. Let the cooked ramen drain very well and cool slightly before mixing. Excess water can make the cakes soggy and harder to crisp.
- Use the right pan. A nonstick or well-seasoned cast-iron skillet gives you the best chance at a deeply golden crust without sticking.
- Press the cakes firmly. Compacting the noodles when shaping helps them hold together, especially when flipping.
- Control the heat. Keep the heat at medium for searing and low for the garlic-butter. Too hot and the garlic can burn or the soy can turn bitter.
- Garnish at the last second. Add scallions right before serving so they stay bright, fresh, and crisp against the rich, buttery noodles.
Variations
- Spicy Chili Ramen Cakes: Add 1–2 teaspoons of chili crisp or a spoonful of gochujang to the garlic-butter instead of (or in addition to) red pepper flakes for a fiery, slightly smoky kick.
- Extra-Cheesy Noodle Cakes: Increase the Parmesan to 1/2 cup and sprinkle a little more on top of each cake right after flipping so it melts into a lacy, crispy cheese crust.
- Loaded Veggie Version: Fold in 1/4 cup finely shredded carrot, cabbage, or thinly sliced bell pepper with the noodles. Keep pieces small so the cakes still hold together nicely.
Storage & Make-Ahead
Cooked ramen cakes are best enjoyed fresh while the edges are crisp. However, you can refrigerate leftovers in an airtight container for up to 3 days. Place a piece of parchment paper between cakes to prevent sticking. Reheat in a lightly oiled skillet over medium heat for 3–4 minutes per side until hot and re-crisped. You can also prepare the shaped, uncooked cakes up to 1 day ahead: cover tightly and refrigerate, then sear just before serving. Add the garlic-butter and scallion topping only at the very end so they stay fresh and vibrant.
Nutrition (per serving)
Approximate values for 1 of 2 servings (including butter and sauce, excluding optional extras): about 580 calories; 34 g fat; 52 g carbohydrates; 16 g protein; 3 g fiber; sodium approximately 900–1,000 mg (varies with brand of soy sauce and ramen). These numbers are estimates and will vary based on the exact products and any additions or omissions.
Leave a Reply