Quick Recipe Version (TL;DR)
Quick Ingredients
- 2 large eggs (cold is fine)
- 1 tablespoon unsalted butter or 2 teaspoons olive oil
- 1/8 teaspoon kosher salt, plus more to taste
- 1/8 teaspoon freshly ground black pepper, plus more to taste
- 1 teaspoon finely chopped chives (optional)
Do This
- 1. Warm a nonstick or well-seasoned skillet over low to medium-low heat for 2 minutes.
- 2. Add 1 tablespoon butter (or 2 teaspoons oil) and let it melt and coat the pan.
- 3. Crack 2 eggs into the skillet (or into a small bowl first, then slide in).
- 4. Season with 1/8 teaspoon salt and 1/8 teaspoon pepper.
- 5. Cook gently 3 to 5 minutes until whites are set but yolks are still glossy and runny.
- 6. For a more-set top without flipping, cover 30 to 60 seconds (or add 1 teaspoon water and cover to steam briefly).
- 7. Slide onto a plate, finish with chives (optional), and serve right away.
Why You’ll Love This Recipe
- Simple and fast: One pan, a few minutes, and you’re done.
- Runny yolk perfection: Gentle heat keeps yolks bright, rich, and dippable.
- Reliable technique: Clear cues so your whites set without burning.
- Goes with everything: Great with toast, potatoes, bacon, greens, or rice.
Grocery List
- Produce: Chives (optional)
- Dairy: Unsalted butter (if using)
- Pantry: Large eggs, olive oil (if using), kosher salt, black pepper
Full Ingredients
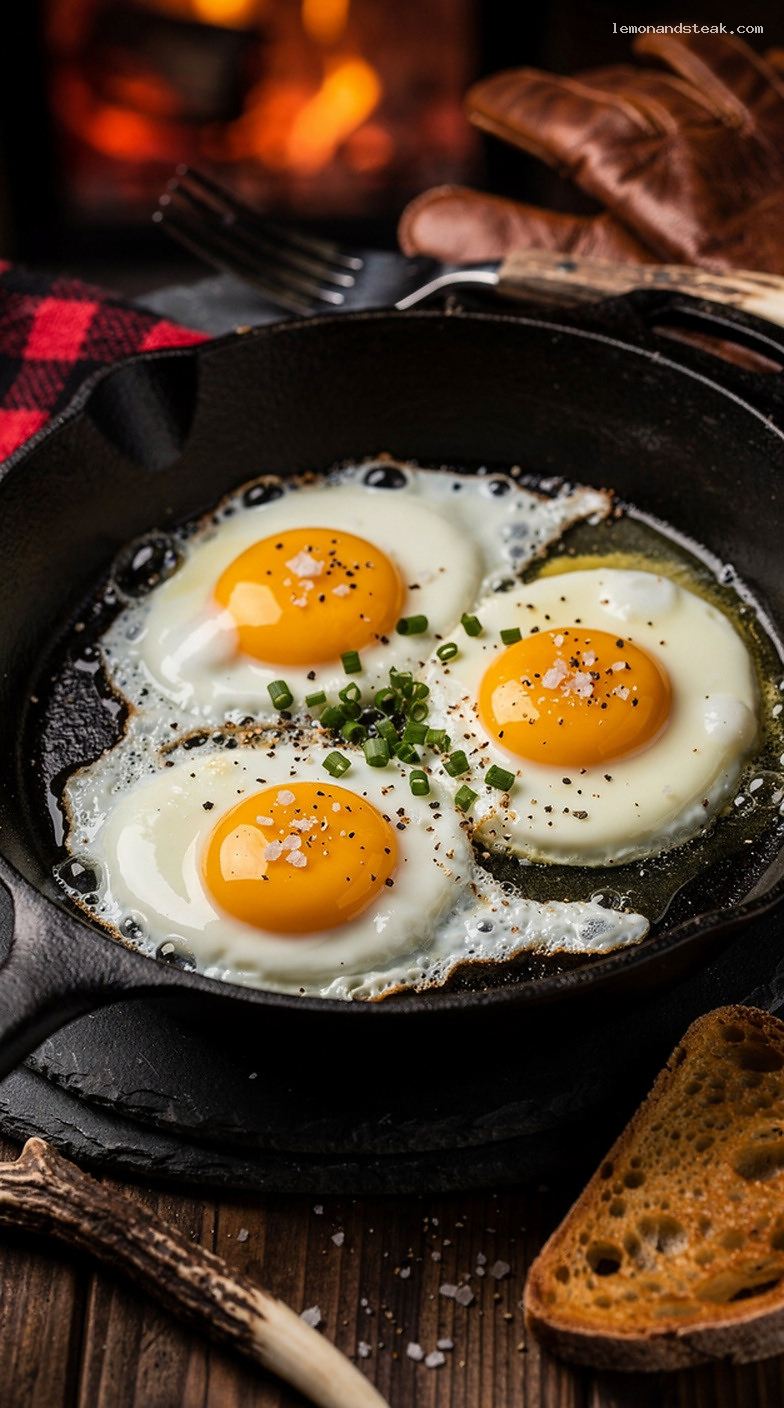
For the Sunny-Side-Up Eggs (1 serving)
- 2 large eggs
- 1 tablespoon unsalted butter or 2 teaspoons olive oil
- 1/8 teaspoon kosher salt, plus more to taste
- 1/8 teaspoon freshly ground black pepper, plus more to taste
- 1 teaspoon finely chopped chives (optional)
Optional for Serving
- 1 to 2 slices toast
- Hot sauce, to taste
- Cooked bacon or breakfast sausage
- Hash browns or home fries
Step-by-Step Instructions
Step 1: Choose the right pan and heat level
Use an 8- to 10-inch nonstick skillet or a well-seasoned cast-iron skillet for best release. Set the burner to low to medium-low and let the empty pan warm for 2 minutes. Gentle heat is the key to set whites without tough, browned edges.
If you like precision, aim for a pan surface temperature around 250°F to 275°F (121°C to 135°C) (checked with an infrared thermometer). If you don’t have one, you want the pan warm enough to melt butter calmly, not sizzle aggressively.
Step 2: Melt the fat and coat the skillet
Add 1 tablespoon unsalted butter (or 2 teaspoons olive oil) and swirl to coat. If using butter, let it melt completely and turn foamy, about 30 to 45 seconds. You’re looking for a gentle foam, not browned butter.
Step 3: Crack the eggs cleanly
For neat eggs and intact yolks, crack each egg into a small bowl first, then slide both eggs into the skillet. This also helps you avoid shell fragments and makes it easier to keep the yolks centered.
Keep the eggs spaced slightly apart so the whites don’t fuse (unless you like them that way).
Step 4: Season early (lightly)
Immediately season the eggs with 1/8 teaspoon kosher salt and 1/8 teaspoon black pepper. Seasoning early gives the whites time to absorb flavor. If you’re using flaky salt, you can save that for the end instead.
Step 5: Cook gently until the whites set
Let the eggs cook undisturbed on low to medium-low heat for 3 to 5 minutes. Watch for these cues:
- The whites go from translucent to opaque.
- The edges look set and no longer wobble.
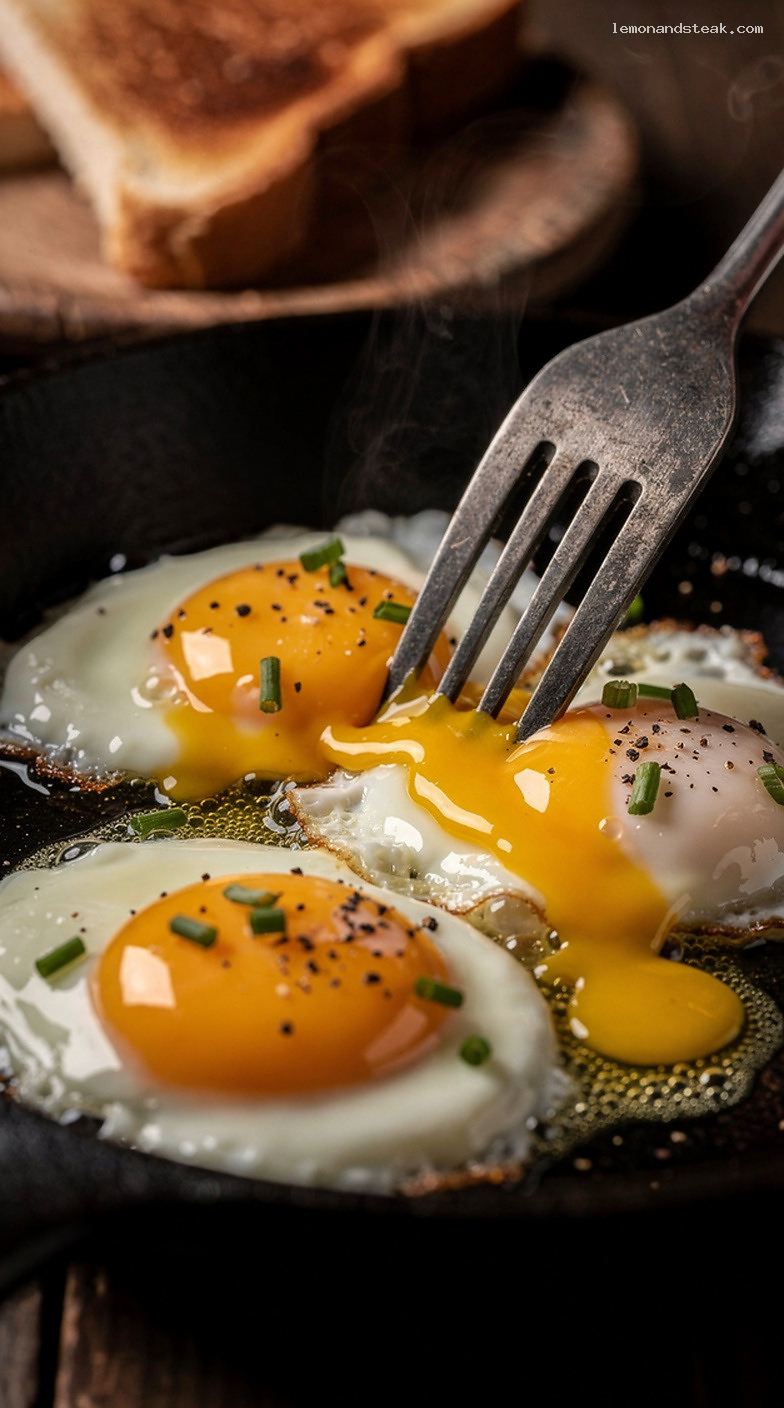
- The yolks remain bright, domed, and glossy.
If the edges are browning before the whites set, reduce the heat slightly.
Step 6: Set the very top of the whites (optional but helpful)
If the whites are mostly set but you still see a thin layer of clear, runny white near the yolk, you have two easy options:
- Lid method: Cover the skillet and cook for 30 to 60 seconds.
- Steam-kiss method: Add 1 teaspoon water to an open spot in the pan (not directly on the eggs), immediately cover, and cook for 20 to 40 seconds.
Both methods help set the top of the whites while keeping the yolks runny. Don’t walk away—this finishes quickly.
Step 7: Plate without breaking the yolks
Turn off the heat. Use a thin spatula to loosen and slide the eggs onto a warm plate. Finish with chives (optional) and an extra pinch of salt and pepper if you like. Serve immediately while the yolk is still luxuriously runny.
Pro Tips
- Low heat is the secret: High heat causes bubbly, tough whites and overcooked yolks before the whites fully set.
- Fresh eggs behave better: Fresher eggs have tighter whites that spread less, giving a neater sunny-side-up shape.
- Use a lid for restaurant-style results: A brief cover at the end sets the top of the whites without flipping.
- Butter flavor, oil control: Butter gives classic flavor; olive oil (or a neutral oil) can be easier to manage without browning.
- Warm your plate: A warm plate helps keep the whites tender and the yolk runny while you get the rest of breakfast together.
Variations
- Crispy-edged sunny-side: Cook in 2 teaspoons oil over medium heat for a slightly lacy, crisp edge; keep an eye on the whites so the yolk stays runny.
- Herby butter finish: Stir 1/4 teaspoon garlic powder or a pinch of dried herbs into the butter as it melts, then cook as directed.
- Spicy: Finish with a few drops of hot sauce or a pinch of crushed red pepper while the eggs are still in the pan.
Storage & Make-Ahead
Sunny-side-up eggs are best cooked and eaten right away for a runny yolk. If you must store leftovers, cool quickly and refrigerate in an airtight container for up to 1 day. Reheat gently in a skillet over low heat for 1 to 2 minutes (the yolk will likely set more during reheating). For make-ahead breakfasts, cook fresh eggs at serving time and prep the sides in advance (toast, potatoes, cooked bacon).
Nutrition (per serving)
Approximate, for 2 eggs cooked in 1 tablespoon butter: 250 calories, 13 g protein, 1 g carbohydrates, 21 g fat, 6 g saturated fat, 320 mg sodium, 425 mg cholesterol.
Leave a Reply